


Howdy,

I am a self-professed elderly millennial, a writer, the host of the Knitflix and Chill Podcast, and a proud dog mom to Shelly Pupperellie. I love all things yarn & am always looking for new ways to share my love of DIY with the world! Happy Stitching!

The Kiawah Sweater is about to become your favorite grab-and-go pullover. Inspired by old photos of my Gamma and Poppy, each pictured wearing irregular stripes, plus one photo of me as a baby in a little pink striped onesie, this sweater combines all three into one cozy, meaningful design. The result is a relaxed pullover that plays with stripes in a fun and unexpected way, mixing varying widths and colors around the body to keep things interesting from the very first round to the last.
This sample was made using the delicious DK Yarn from The Wandering Flock.
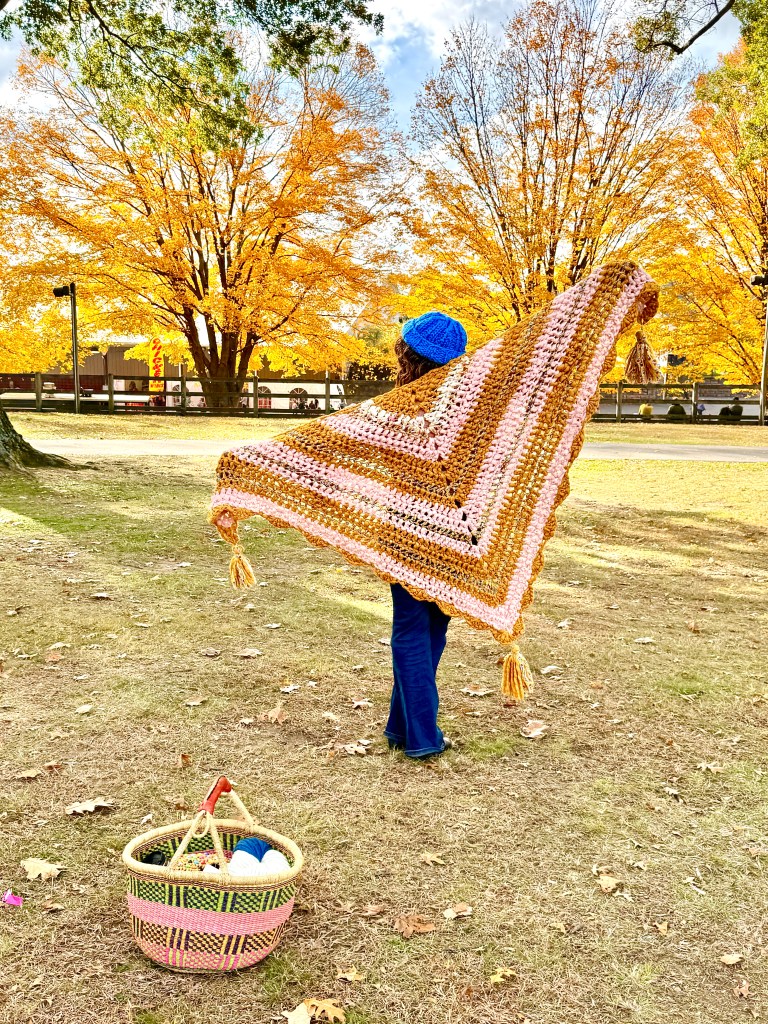
This generous wrap combines multiple Knit Collage yarns for a textured, colorful statement piece that’s perfect for festival hopping or everyday wear. Work it from the point out with simple double crochet increases, finish with a playful scalloped border, and add tassels for extra flair. The mix of bulky fibers creates the ultimate hippie dippy aesthetic while keeping you warm from fall through winter.

Leave a Reply